# Installation and Template Details
[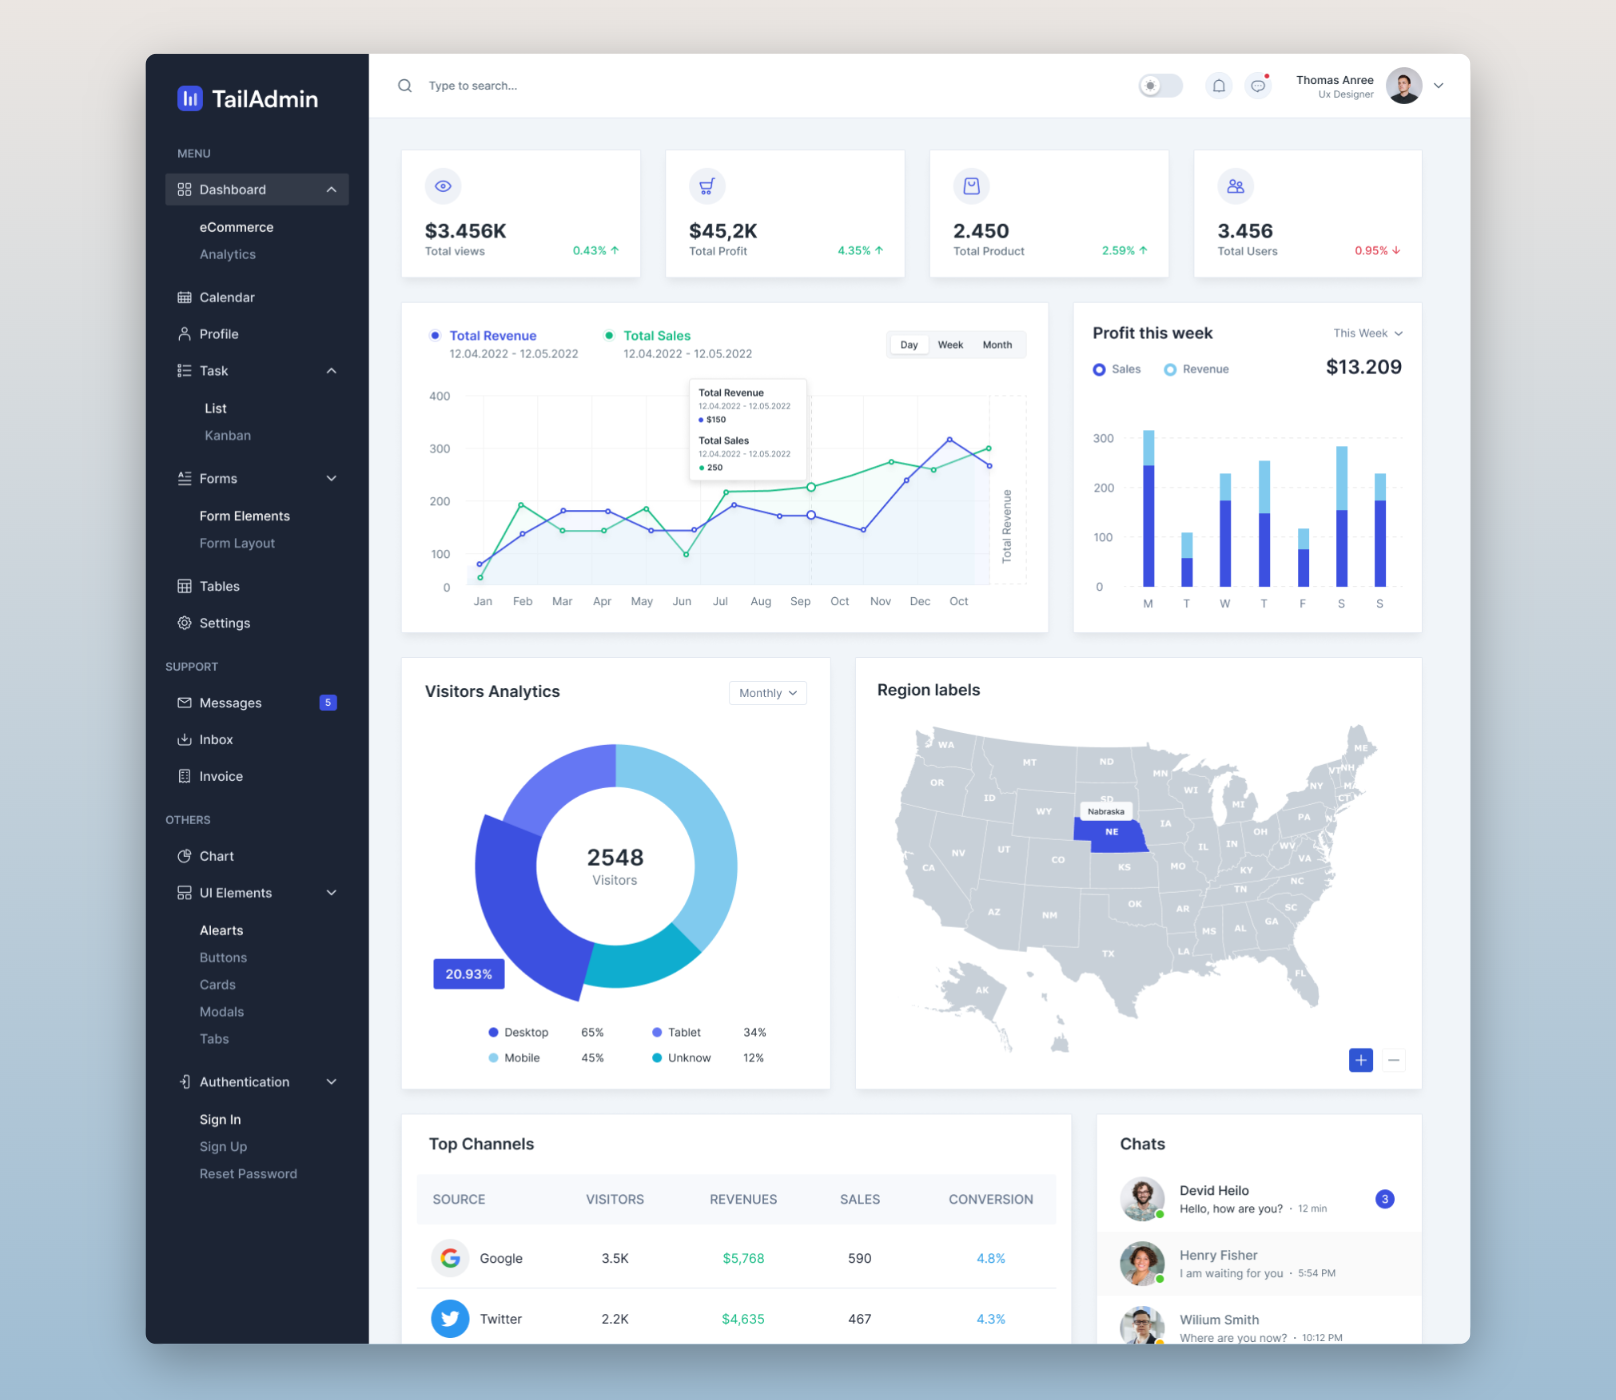](https://tailadmin.com/)
### [✨ Visit Website](https://tailadmin.com/)
### [🚀 Demo](https://demo.tailadmin.com/)
### TailAdmin PRO vs TailAdmin FREE Comparison 📊
#### [TailAdmin PRO](https://demo.tailadmin.com/)
- 4 Unique Dashboards: Analytics, Ecommerce, Marketing, and CRM (More will be added)
- 120+ Dashboard UI Components
- 200+ Total UI Elements
- 45+ HTML Files
- All Essential Elements and Files
- Full Figma Design Source - As Shown on Demo
___
### [⬇️ Download Now](https://tailadmin.com/download)
### [⚡ Get PRO Version](https://scan.pm/order)
### [📄 Documentation/Installation](https://tailadmin.com/docs)
### [🖌️ TailAdmin Figma Free Sample](https://www.figma.com/community/file/1214477970819985778)
### [👉 TailAdmin React](https://github.com/TailAdmin/free-react-tailwind-admin-dashboard)
### Installation
You'll need to install Node.js >=v14.16+ (Recommended Version) (NPM comes along with it)
Use terminal and navigate to the project (tailadmin) root.
- Clone the repository with the following command:
```bash
git clone https://github.com/TailAdmin/tailadmin-free-tailwind-dashboard-template
```
- Then run : npm install to install dependencies
- Then run : npm start to rund the project in dev mode
Now, in the browser go to localhost:3000
**For Production Build**
Run : npm run build
This command will generate a Build folder in the root of your template that you can upload to your server.